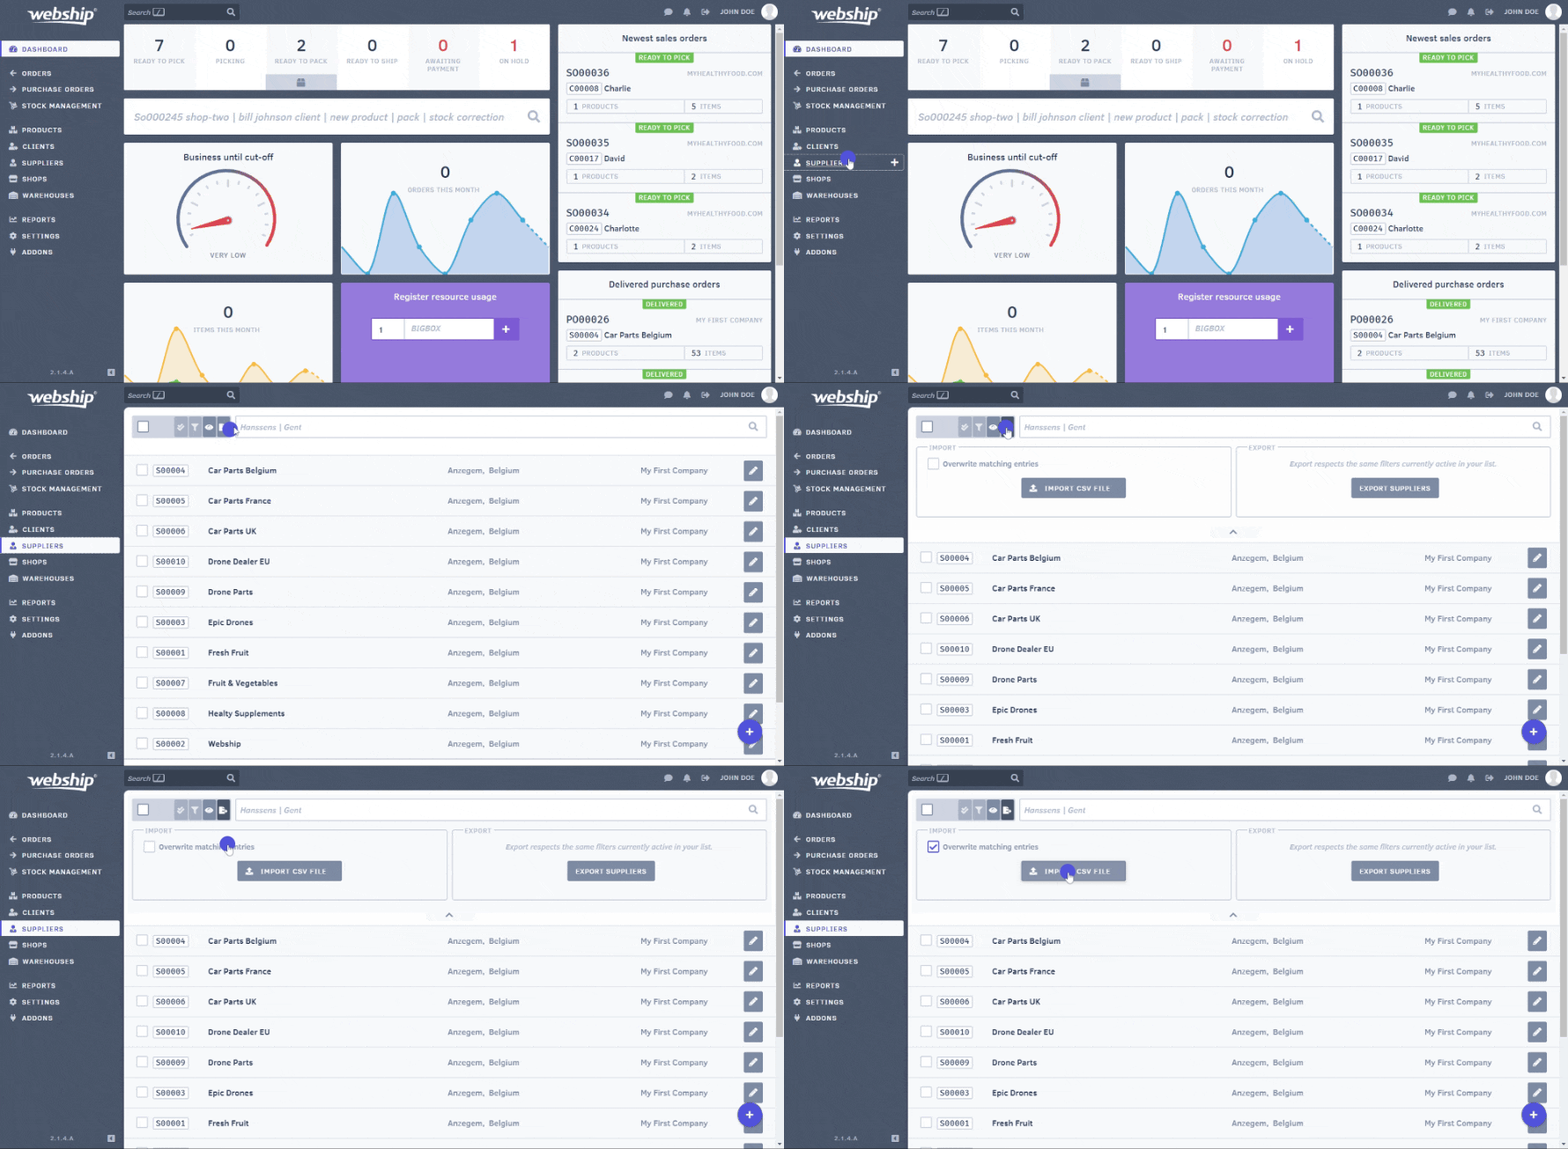
Importing your supplier database into Webship Online is easy and saves time when creating a purchase order, so you don’t have to enter all the supplier details in advance but you can immediately select the right supplier.
Importing a customer file, requires you to create a CSV file. The best way to do this is to create an Excel file and save it as a CSV file.
Create import file
Webship Online links column headers from the import file to data fields in the application. It’s important, therefore, to enter the correct column heading each time. Download your template with the correct column headings here!
The following data can be imported with the corresponding column heading. The required fields when creating new products are indicated in bold.
- Supplier number (supplier_number)
- Name (name)
- Contact (contact)
- E-mail (email)
- Telephone number (phone)
- VAT number (vat)
- Address line 1 (address_1)
- Address line 2 (address_2)
- Postal code (postal_code)
- Municipality (city)
- Province (province_state)
- Country
Webship Online only imports the columns that are present in the import file. So if you do not use the column heading “telephone number”, then the telephone number will not be imported nor overwritten.
You can choose to overwrite existing rows. This means that supplier data already present in Webship Online will be overwritten. For example, if a supplier’s phone number is already present in Webship Online, but the fields in the “telephone number” column are not completed in the import file, the phone number will be erased during the import. So please ensure the import file is as complete as possible. If you do not check this option, only new suppliers will be imported.

