Congratulations on taking the step for Webship Online to manage your inventory, purchase and sales orders, customers, suppliers, etc… In this article, we will discuss how to get started with our application quickly.
Settings
Via the “settings” menu you can select the desired language, change your password, etc… For security reasons, we advise you to change the password after your first login. Choose a strong password that meets our requirements, don’t make it too easy for rogue bots (or hackers)!
Warehouse
Before you can store goods, you need a warehouse or other storage area of course. Using the “Warehouses” menu, you can quickly add one or more warehouses. You can then create an infinite number of locations within each warehouse, in line with the structure you use (or want to use).
Do you prefer not to use locations? That is possible, but we recommend thinking carefully about your storage space from the start. Locations are useful for quickly finding products and for bringing down the error rate.
Location layout
- Zone ‘P’ for pallet spaces
- Zone ‘L’ for shelves
- Zone ‘S’ for stacking bins
- 01.110.A.01
- P: zone for pallet locations
- 01: aisle number ’01’
- 110: rack number ‘110’
- A: level (or shelf) in the rack (feel free to use numbers here too)
- 01: compartment or position on the shelf
In the example above, all locations will be automatically generated between P.001.A through P.100.E (and everything in between = 500 locations). As an option, you can mention the maximum dimensions and stock type.
In the end, you will get to see the following:
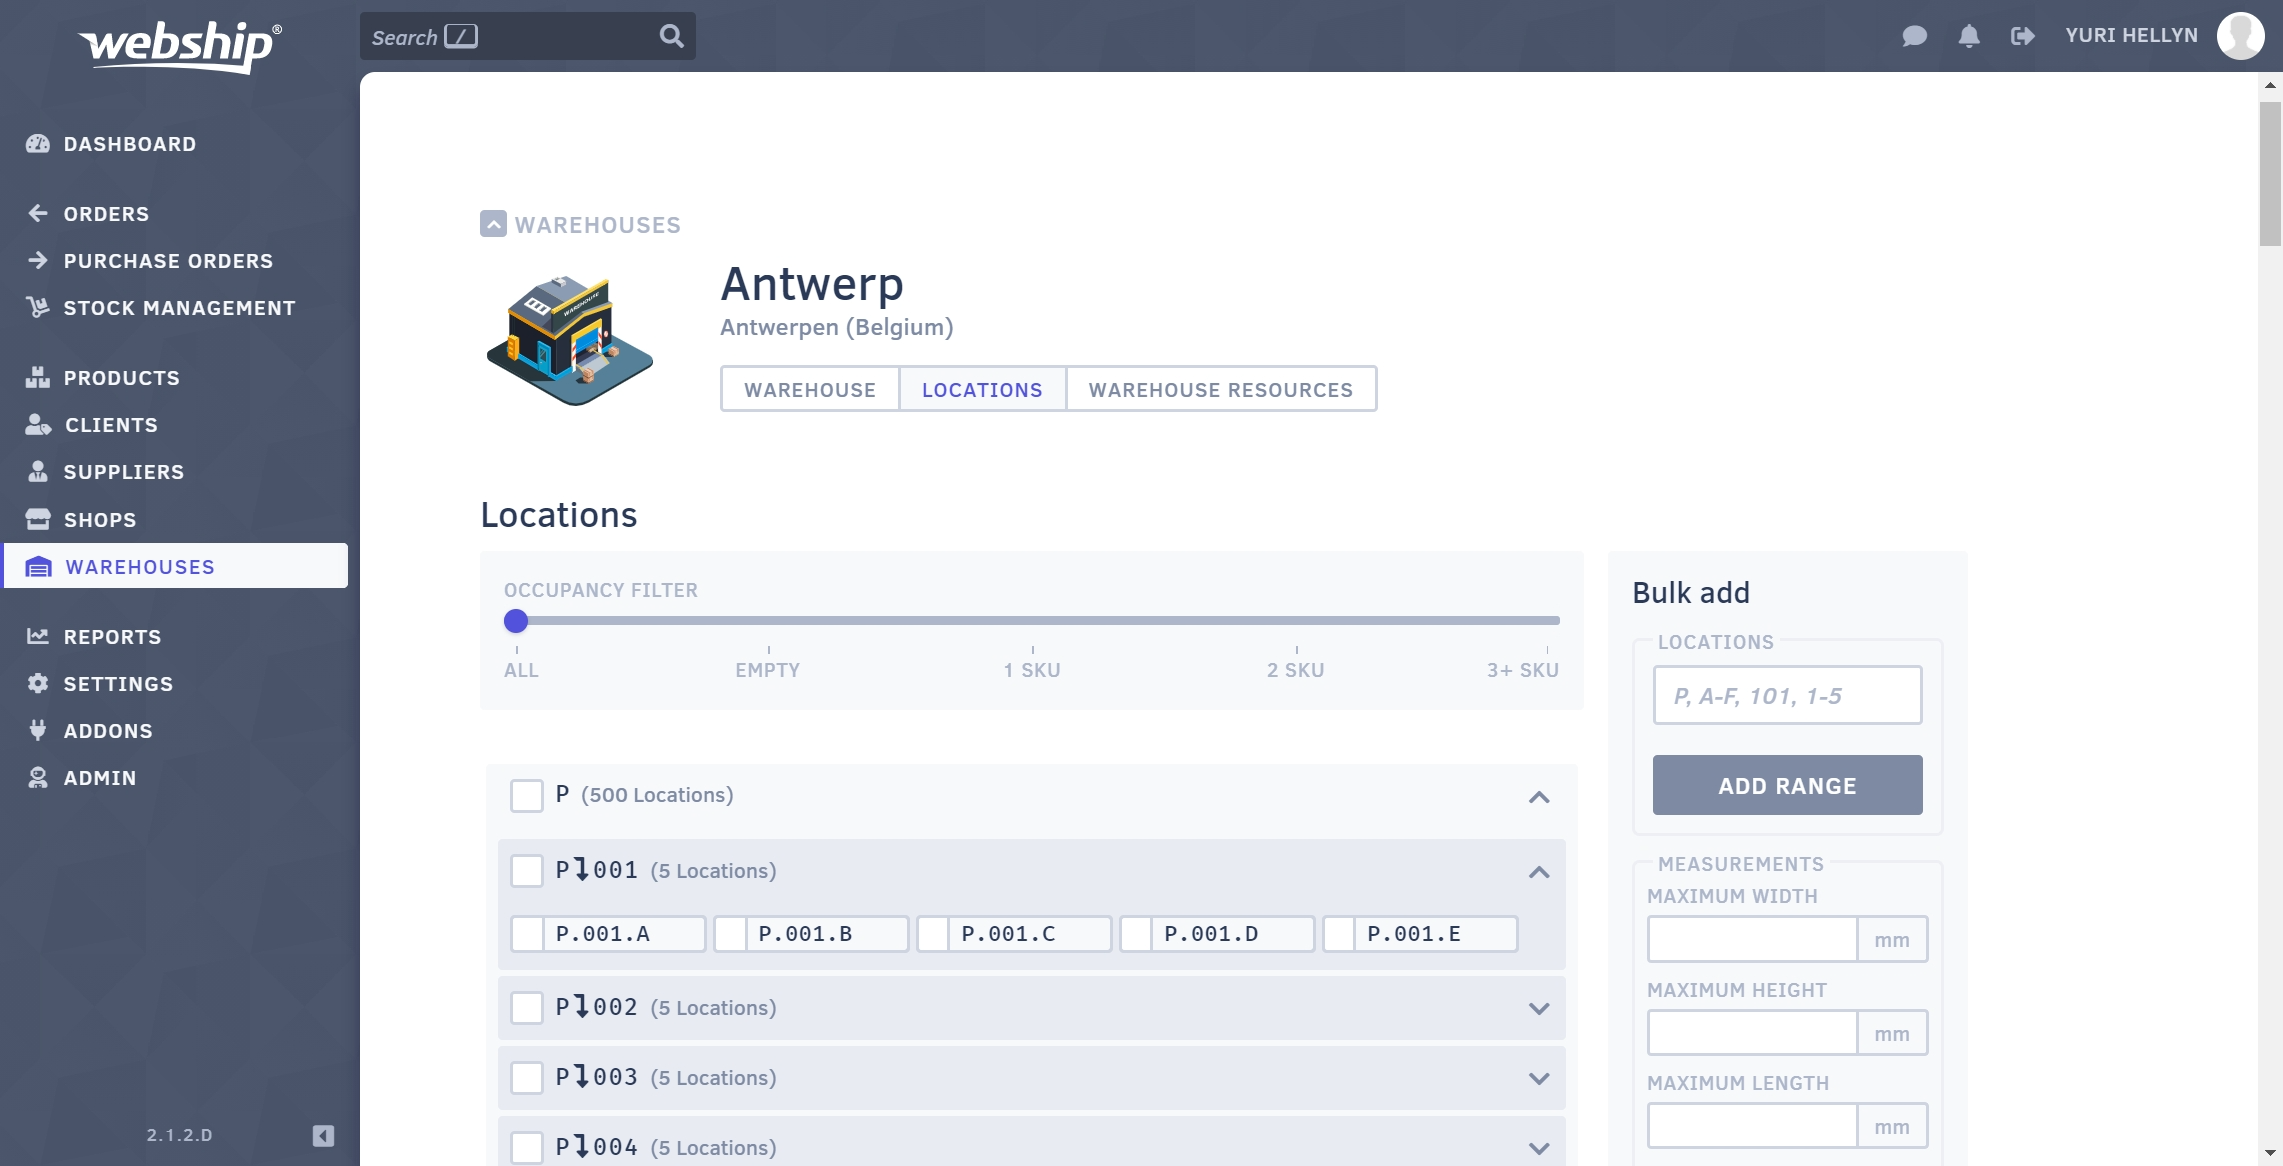
For each location, you can now update the properties and see what products are there.
Each location in the warehouse is also identified with its location number using a sticker or other form of ‘signposting’. If necessary, you can also put a barcode on the location if you want to use a barcode scanner in the near future.
Within a corridor, make sure the even and odd numbers are separated left and right, like the house numbers on a street. That way, you will automatically create an intuitive walking route for picking. Be sure to add zeros at the front of the number as well to standardise the structure of the location numbers (e.g.: P.001.A instead of P.1.A).
Sales Channels
After setting up your account and warehouse, you only need to add the points of sale for you to get started. You can add one or more brands (trade names) within your company using the “Shops” menu. Let’s assume that you have multiple webshops, each with their own specific product range:
- drone-buying.com
- regenton-kopen.be
- com
We’re going to create three ‘trade names’, each with their own point of sale. To make it clear:
- Pegatex NV
- Drone Center
- drone-kopen.be (webshop)
- com (online marketplace)
- Store in Vichte (physical store)
- My Secret Garden
- regenton-kopen.be (webshop)
- com (online marketplace)
- Amazon (online marketplace)
- 4×4 Center
- mijn4x4.be (webshop)
- Drone Center
So in the example above, we have one company with three trade names and seven sales channels all together. You can add all of these through the “Shops” menu.
Products
Your products can be added either by synchronising them with a linked webshop, or by importing an Excel (CSV) file, or by adding the products manually. Depending on the method you choose, please review the specific documentation: